How Ceramic Coating Is Applied: A Complete Guide for Cornelius, NC Drivers
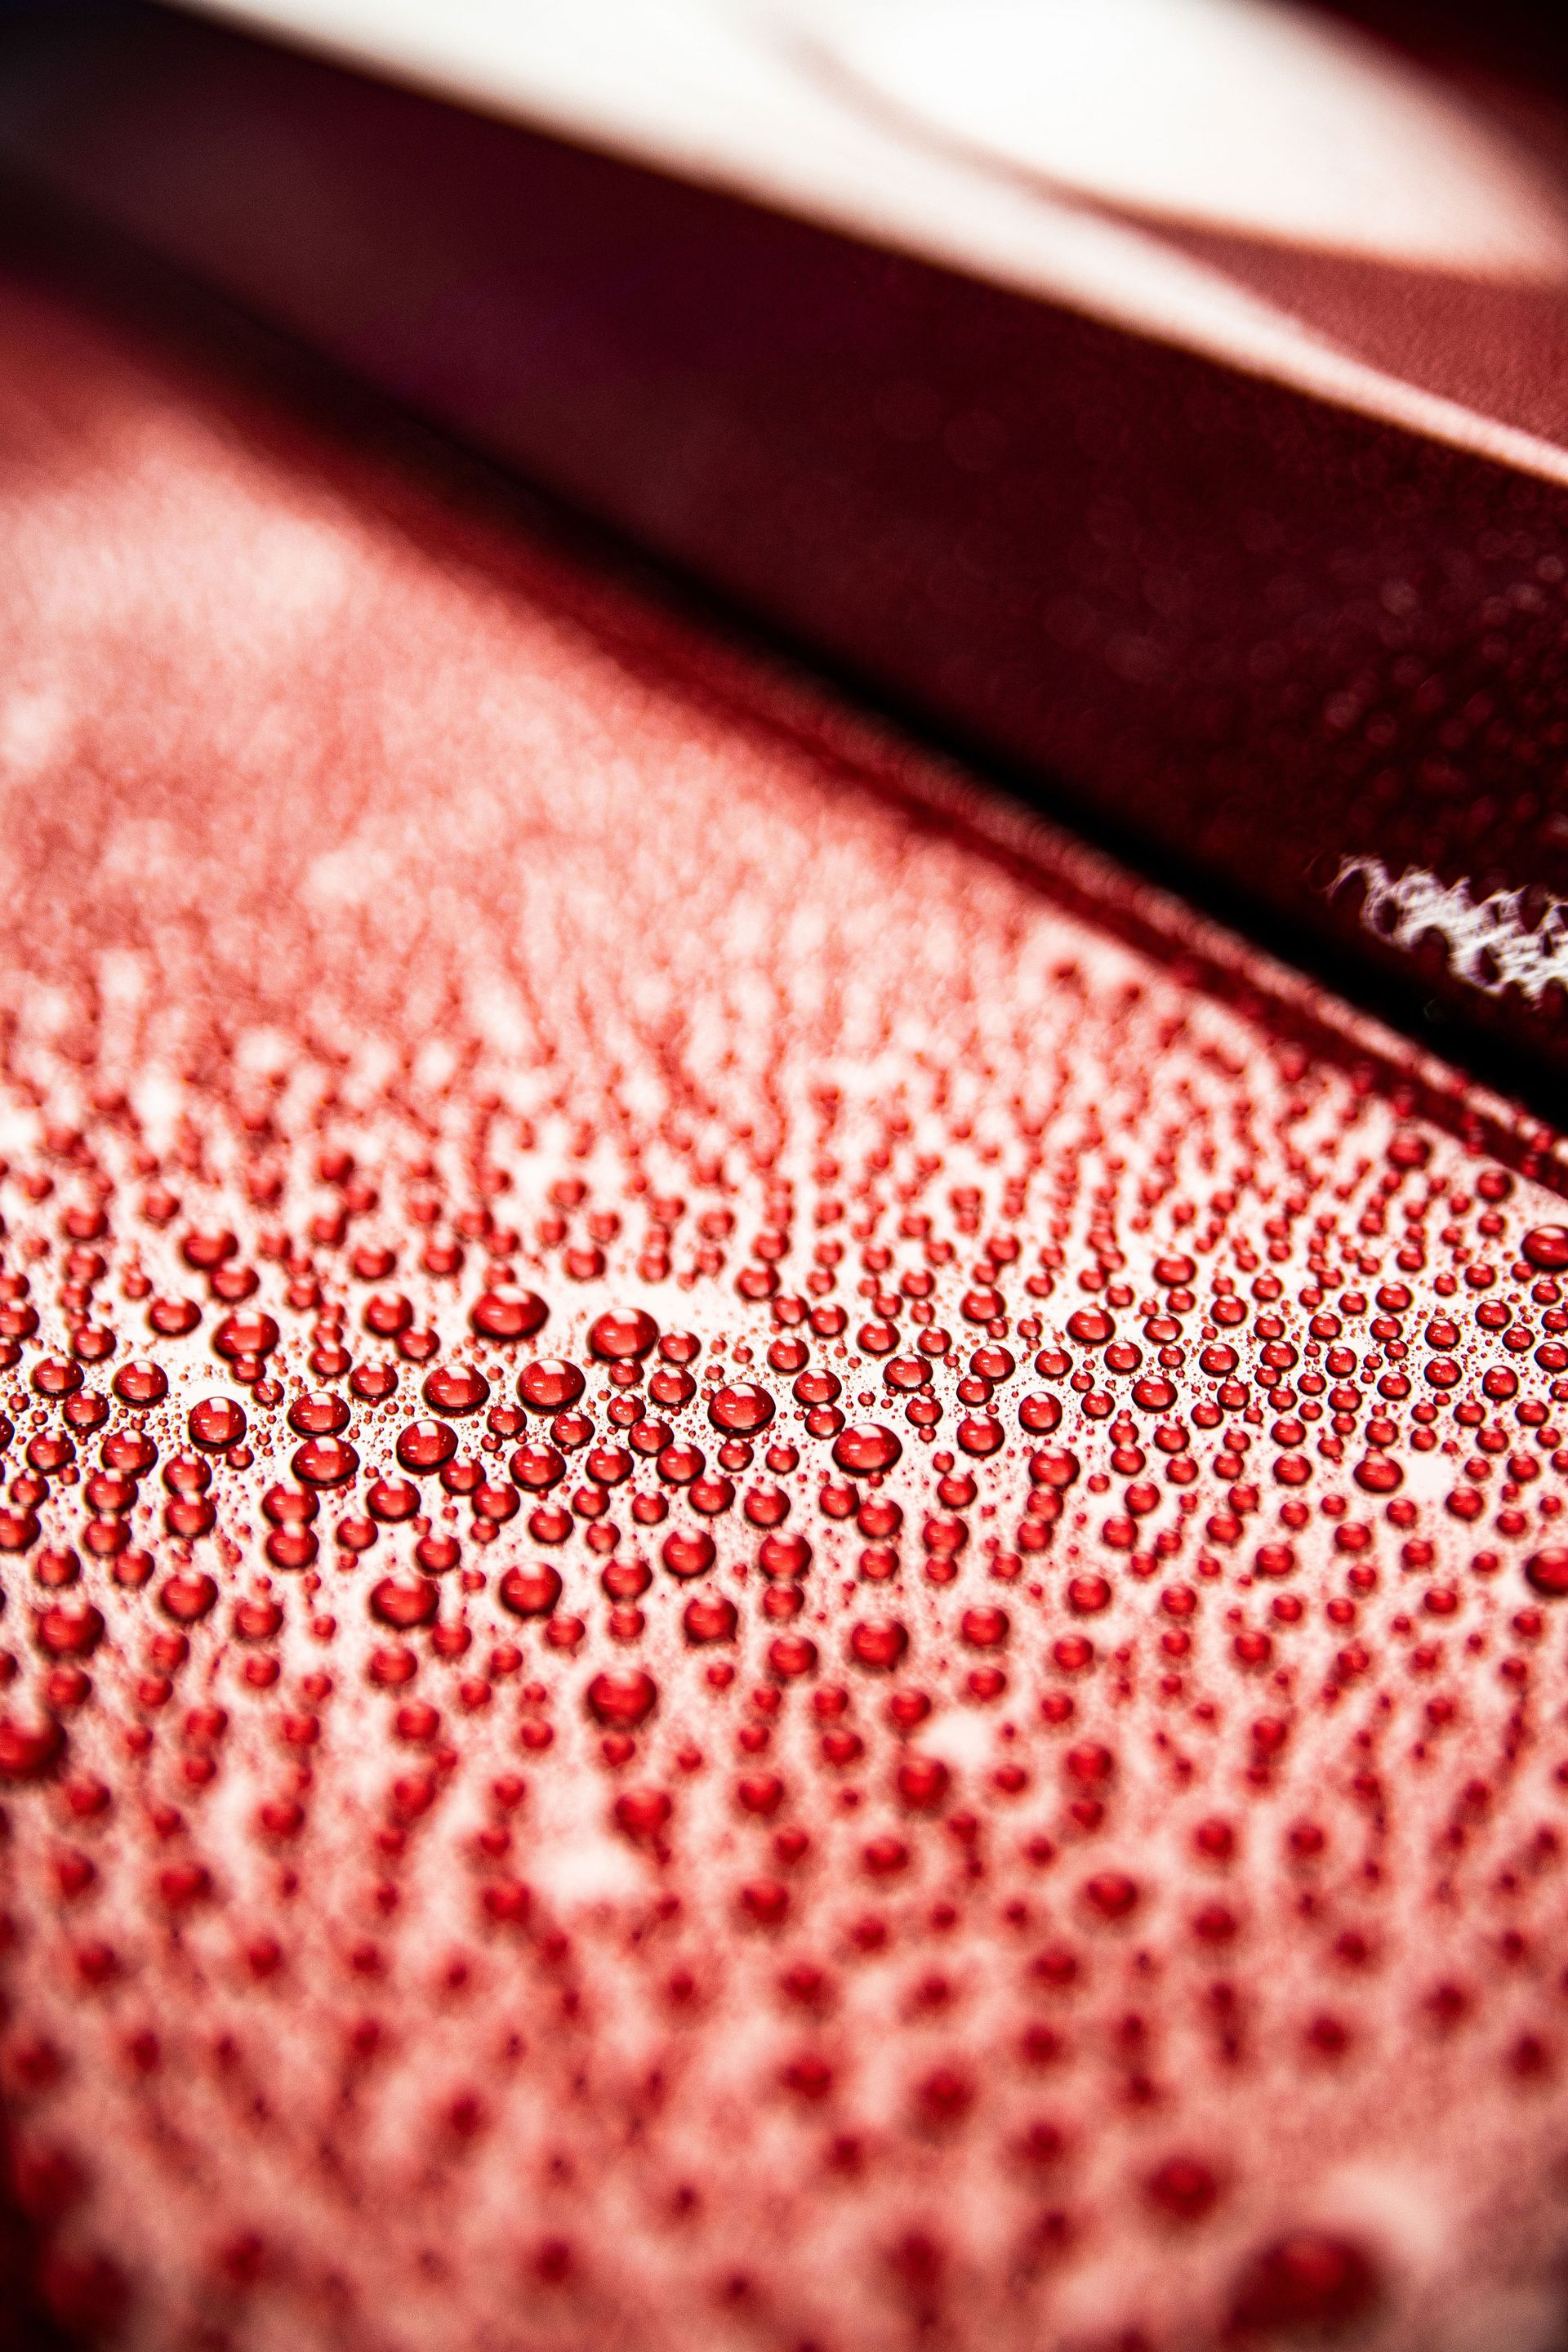
Ceramic coating has become one of the most talked-about paint protection services in the automotive world, and for good reason. The hydrophobic properties, UV resistance, and long-term gloss enhancement it delivers are genuinely impressive when the coating is applied correctly. The problem is that most drivers book an appointment without a clear picture of what the application process actually involves, which makes it nearly impossible to evaluate whether the shop they chose is doing the job right.
Understanding how ceramic coating is applied is not just an academic exercise. It directly affects your ability to choose a qualified shop, recognize when corners are being cut, set realistic expectations for time and outcome, and care for the coating correctly after it goes on. Ceramic coating in Cornelius, NC involves specific process considerations related to the region's hot, humid climate that generic guides do not address. This complete walkthrough covers every step of a professional application from the initial wash through the curing period, what the process should look like in a properly equipped shop, and how the Carolina climate affects both application and long-term performance. Champion Window Tinting has been performing ceramic coating applications for Lake Norman area drivers since 2001, and the process described here reflects what a genuine professional installation actually involves.
Why Understanding the Application Process Matters Before You Book
Most automotive services are relatively straightforward to evaluate. A mechanic either fixed the problem or did not. A tire shop either mounted the tire correctly or did not. Ceramic coating is different because the quality of the application is almost entirely invisible at the point of completion. A carefully prepared and correctly applied coating and a rushed coating applied over contaminated, uncorrected paint look nearly identical on the day the job is finished. The difference emerges over weeks and months as the properly applied coating maintains its hydrophobic performance and gloss while the rushed application develops high spots, hazy patches, and progressively weaker water beading.
What Knowing the Process Protects You From
Drivers who understand the application process ask the right questions before booking. They know to ask whether paint correction is included in the quote or priced separately. They know to ask how many stages of correction the shop performs and what products they use for the panel wipe-down before application. They know to ask about the installation environment's temperature and humidity controls. These questions separate shops that perform the full professional process from shops that skip preparation steps to offer lower prices. The answers tell you almost everything you need to know about what you are actually buying before a single drop of coating touches your paint.
The Full Ceramic Coating Application Process Step by Step
Professional ceramic coating application is a multi-stage process that takes significantly longer than most drivers expect. Each step builds on the one before it, and cutting or rushing any step compromises every step that follows. Here is exactly what the process should look like at a professional shop.
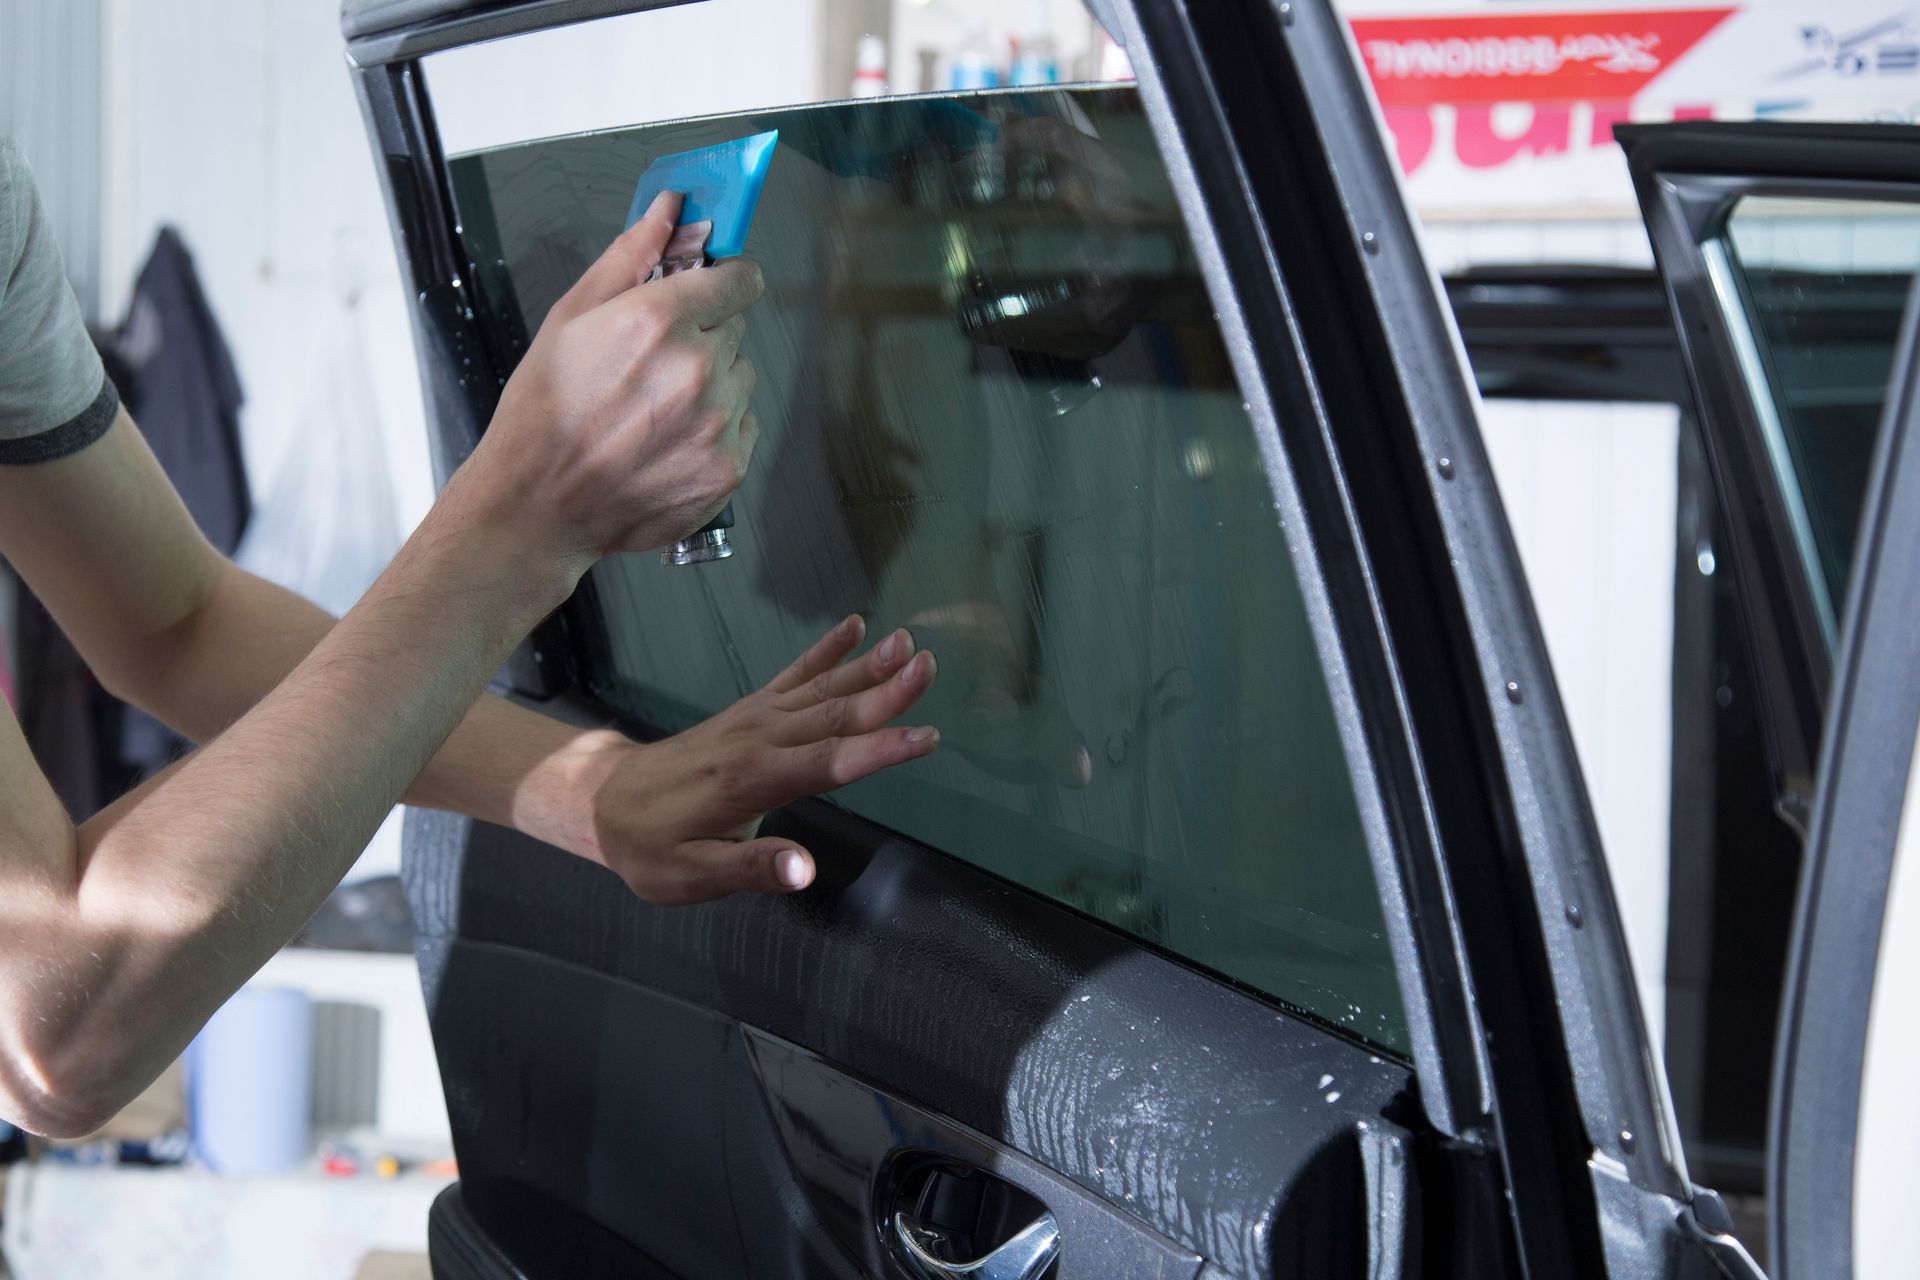
Step 1: Initial Wash and Surface Decontamination
The application process begins with the most thorough cleaning the vehicle has ever received. This is not a standard car wash. It is a systematic multi-stage decontamination that removes every category of contamination from the paint surface before any correction or coating work begins.
The process starts with a pre-soak to loosen surface-level dirt and organic debris. A dedicated iron fallout remover is then applied across all painted surfaces to dissolve the embedded iron particles that traffic and brake dust deposit into paint over months of driving. These particles are invisible to the naked eye but create rough, contaminated surfaces that prevent ceramic coating from bonding correctly. After iron decontamination, a thorough two-bucket hand wash removes loosened surface contamination. The vehicle is then clay barred across every painted panel to remove any remaining embedded contaminants that the iron remover and wash did not address.
Why Decontamination Is More Than Just a Wash
The decontamination step is where budget shops most commonly cut corners because it is labor-intensive, requires specialized products, and adds significant time to the appointment without being immediately visible in the finished result. A vehicle that skips iron fallout removal and clay bar treatment looks clean after a thorough wash. The problem is that the contamination sitting in the paint creates a barrier between the clear coat and the coating that prevents a complete chemical bond. The coating applied over that contamination bonds to the contamination layer rather than to the paint, which creates the premature delamination and spotty hydrophobic performance that drivers experience when a rushed application begins failing within the first year.
Step 2: Paint Correction
Paint correction is the most time-consuming and most critical step in the ceramic coating application process, and the one that most separates professional installations from budget alternatives.
What Paint Correction Involves and Why It Cannot Be Skipped
Ceramic coating bonds to whatever surface it is applied to and then locks that surface condition in for the full duration of the warranty period. Applied over corrected, defect-free paint, the coating preserves and enhances a flawless finish. Applied over swirl marks, water spots, bird dropping etching, and fine scratches, the coating seals those imperfections under a hard, semi-permanent layer that cannot be addressed without removing the coating entirely.
Paint correction uses a machine polisher with compound and polish products in a systematic multi-stage process. The most aggressive compound stage removes deeper scratches and significant swirl marks. Subsequent refining stages remove the micro-marring left by the aggressive compound, finishing with a fine polish that brings the paint to its highest achievable clarity and gloss level before the coating is applied. The finished paint under good lighting should show a clear, deep reflection without the scattered, hazy appearance that swirl marks create.
Light single-stage correction removes minor swirl marks and light surface contamination. Full multi-stage correction addresses heavier scratches, water spot etching, and oxidation on vehicles with significant surface damage. The correction level appropriate for a specific vehicle depends on its paint condition at the time of the appointment, which is why professional shops assess the paint before quoting rather than offering flat-rate correction pricing without a vehicle inspection.
Step 3: Surface Preparation and Panel Wipe Down
After correction and immediately before coating application, each panel is wiped down with a dedicated panel preparation product that removes any oils, polish residue, or micro-contamination left by the correction process. This step is critical because even invisible residue from correction products prevents the ceramic coating from making direct contact with the clear coat for its chemical bond.
The panel prep product is applied with a clean microfiber applicator and removed with a fresh, lint-free microfiber towel in a controlled, methodical pattern that does not reintroduce contamination from previously wiped areas. This step happens panel by panel immediately before each panel receives its coating application, which is why it cannot be done all at once as a single preparation pass across the whole vehicle.
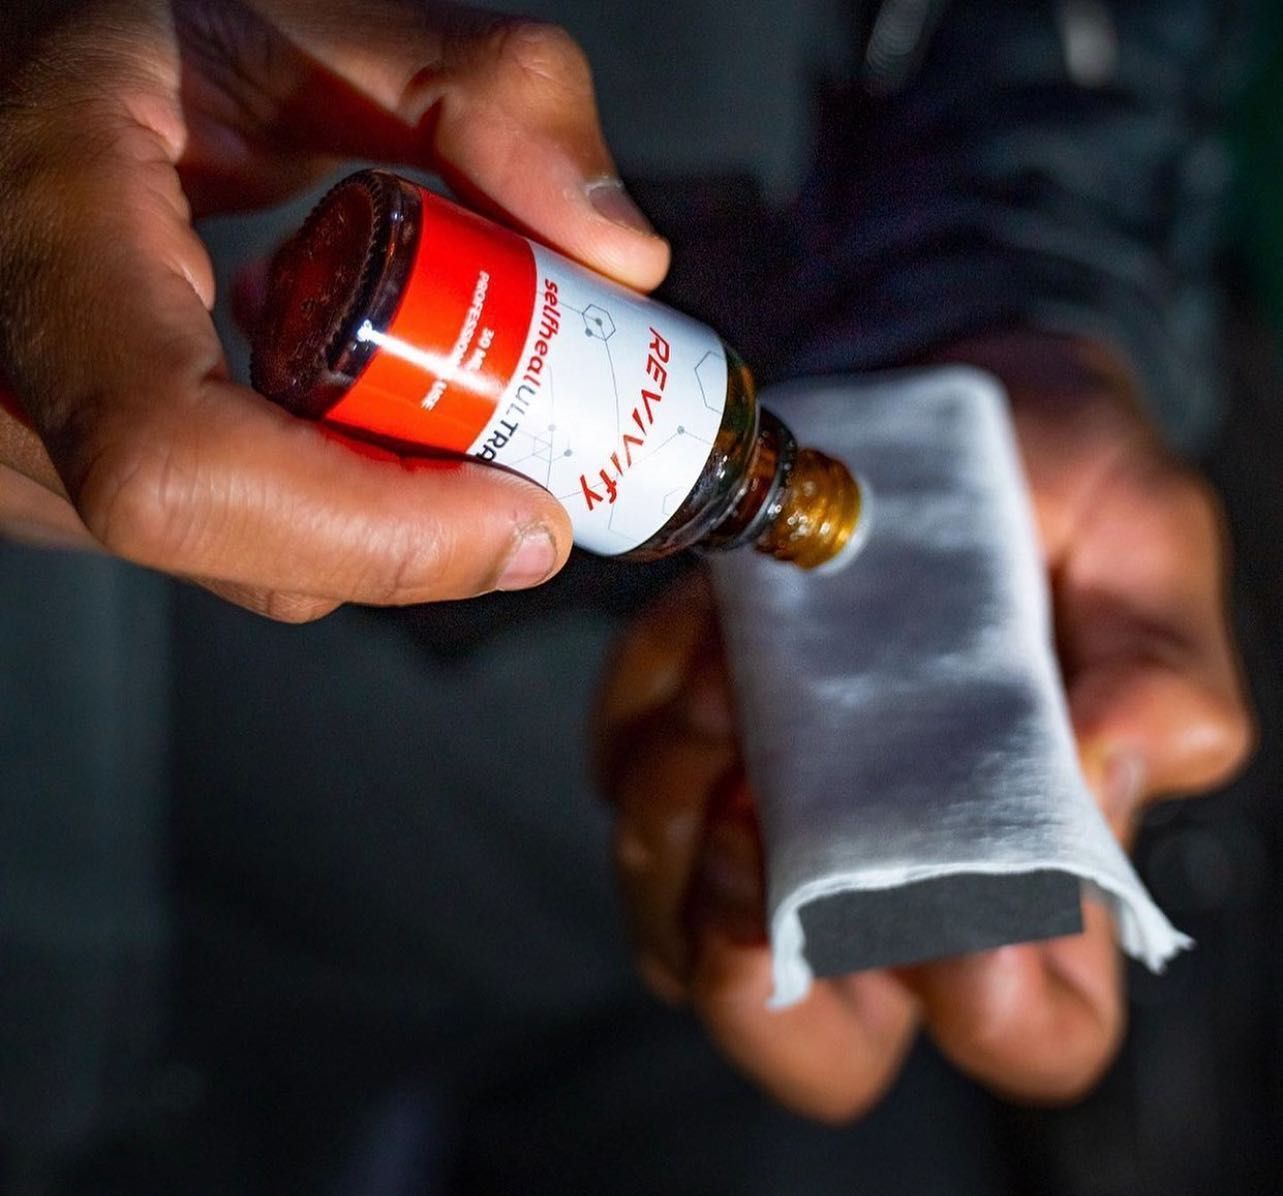
Step 4: Ceramic Coating Application
With the paint corrected, decontaminated, and prepped, the coating application itself begins. Liquid ceramic coating is applied to a small foam or suede applicator pad and spread across each panel in overlapping passes at a consistent, controlled rate. The technician works in sections small enough to complete the leveling step before the coating begins to flash, which is the point at which the coating starts to cure and becomes resistant to leveling.
How the Coating Is Applied Panel by Panel
Professional ceramic coating application always proceeds panel by panel rather than coating the entire vehicle at once. Each panel receives its coating, is leveled, and is inspected before the technician moves to the adjacent panel. This approach ensures that no panel exceeds its flash time before leveling, which is the most common cause of high spots and hazy patches in amateur or rushed applications. The flash time window varies by product, ambient temperature, and humidity level, which is why monitoring environmental conditions throughout the application is an essential part of the technician's job.
Step 5: Initial Leveling and Buffing
As the coating flashes on each panel, a clean, fresh microfiber towel is used to level the product and remove the carrier solvent that evaporates as the coating begins its initial cure. This step requires precise timing. Too early and the coating smears rather than leveling cleanly. Too late and the coating has begun crosslinking, which makes it extremely difficult to remove and creates permanent high spots visible as hazy, iridescent patches under direct light.
The leveling technique, the microfiber quality, and the technician's feel for the product's behavior at the current temperature and humidity level are all factors that develop through hundreds of real coating applications. This is why the technician's experience is not a marketing claim but a genuine functional requirement for consistent results.
Step 6: Curing and the Post-Application Window
After leveling, the coating enters its initial curing phase during which the chemical crosslinking that creates the hard, bonded layer progresses through the full depth of the coating. The vehicle remains in the controlled installation environment for the initial cure period specified by the product manufacturer before it is considered ready for careful movement.
How North Carolina's Climate Affects the Curing Process
Temperature and humidity both affect ceramic coating cure rates in ways that are particularly relevant for ceramic coating in Cornelius, NC. North Carolina summer heat accelerates the flash time during application, which narrows the window for proper leveling and requires experienced technicians who can work efficiently without rushing past the quality standards the step demands. The same summer heat also accelerates the initial curing phase, which can produce stronger early hardness but requires close environmental monitoring to prevent premature crosslinking before leveling is complete. Champion Window Tinting's climate-controlled installation environment addresses these NC-specific challenges directly, maintaining consistent temperature and humidity throughout every application regardless of the outdoor conditions.
How Long the Full Ceramic Coating Process Takes
One of the most common questions about ceramic coating applications is how long the process takes. The answer depends on the service tier, the vehicle size, and the paint condition.
Time Breakdown by Service Tier
A basic single-stage correction with entry-level ceramic coating on a standard sedan typically takes one full day, roughly six to eight hours in the shop. A thorough multi-stage correction with premium ceramic coating on the same vehicle takes one to two full days depending on the severity of existing paint defects. Full multi-stage correction with top-tier ceramic coating on a larger SUV or vehicle with significant paint condition issues can take two to three days of shop time.
These timelines reflect real professional work. They are not inflated for appearance. Every additional hour in the correction phase is an hour spent removing defects that would otherwise be preserved under the coating for years. Rushing the correction phase to reduce appointment time is the single most common way budget shops cut corners on ceramic coating applications while still charging ceramic coating prices.
Why Rushed Installations Always Underperform
A ceramic coating applied after a thirty-minute prep wash and no correction work will look beautiful for approximately two to four weeks. The hydrophobic beading will be strong initially because it reflects the product's inherent chemistry rather than the quality of the bond. As the weeks pass and the vehicle accumulates washing cycles, UV exposure, and environmental contamination, the coating that bonded to contamination rather than clean paint begins releasing from those contamination layers. Water spots appear. Beading weakens unevenly across panels. Hazy patches emerge where high spots were not properly leveled. What looked like a great deal at booking reveals itself as a coating that will need removal and reinstallation within the first year.
What the Ceramic Coating Curing Period Looks Like
The curing period after a ceramic coating application is when the coating progresses from its initial hardness to full crosslink strength. Understanding what happens during this period helps drivers follow the aftercare instructions that protect the application long-term.
The First 24 to 48 Hours
During the first 24 to 48 hours after application, the coating is in its most vulnerable state. The initial crosslinks have formed but the full depth cure has not completed. During this window, the vehicle should remain in a controlled or at minimum dry environment. Water exposure should be avoided entirely because water contact during the initial cure can create water spots that are bonded into the coating rather than sitting on the surface. The vehicle should not be washed, should not be parked under trees, and should not be driven through rain during this period.
The First Two Weeks
Full cure for most professional ceramic coatings takes two to four weeks depending on the product and the ambient conditions. During this period, the coating continues to harden and the hydrophobic properties progressively strengthen as the chemical crosslinking completes through the full coating depth. The vehicle can be driven normally after the initial 24 to 48 hours but should receive only gentle maintenance washing during the full cure window.
What to Avoid During the Curing Period
Several specific activities and exposures should be avoided during the curing period. Automatic car washes with stiff brushes should be avoided entirely for at least the first month. Bird droppings, tree sap, and bug splatter should be removed promptly even during the curing period because their acidic chemistry can etch into a partially cured coating more easily than into a fully hardened one. Harsh chemical cleaning products, including any cleaner containing ammonia, solvents, or high-pH degreasers, should not contact the coating during this period or at any point after full cure.
How to Prepare Your Vehicle Before the Appointment
Proper preparation before arriving for a ceramic coating appointment is straightforward but makes a meaningful difference in both the appointment timeline and the quality of the finished result.
What Drivers Should and Should Not Do Before Arrival
Remove all personal items from the vehicle interior before the appointment because detailers need unobstructed access to clean interior surfaces. Remove any dash cam accessories, phone mounts, or suction cup devices attached to the glass because these will need to be repositioned after the coating is applied. Do not wax or apply any sealant product to the paint in the weeks leading up to the appointment because these products must be completely removed during decontamination and their presence adds time to the prep process.
Do not wash the vehicle immediately before the appointment. A light wash a day or two before arrival to remove heavy surface dirt is helpful, but arriving with an extremely clean vehicle is less important than arriving without any freshly applied wax or product because the shop will perform a full professional decontamination wash as the first step of the application process regardless of the vehicle's condition on arrival.
What a Professional Ceramic Coating Environment Looks Like
The installation environment where ceramic coating is applied is not a detail. It is a fundamental requirement for consistent, professional-quality results.
Why Climate Control Matters More in Cornelius Summers
Cornelius, NC summers push outdoor temperatures into the upper 80s and 90s with humidity that makes ambient conditions genuinely challenging for ceramic coating application. High temperature accelerates flash time dramatically. High humidity introduces moisture into the curing process that can affect the coating's initial crosslinking quality. A climate-controlled installation bay that maintains consistent temperature and humidity regardless of outdoor conditions eliminates these variables and allows technicians to work at the pace and precision the process requires. Professional ceramic coating in Cornelius, NC applied in a climate-controlled environment consistently produces better results than the same product applied in an open bay during summer conditions.
Inspection Lighting and Surface Assessment
Professional ceramic coating shops use high-intensity inspection lamps at specific angles to identify paint defects before, during, and after the correction process. Surface imperfections that are completely invisible under standard ambient lighting become clearly apparent under direct inspection lamp illumination. Without proper inspection lighting, correction work cannot be verified as complete before the coating is applied. Shops that perform ceramic coating without this kind of dedicated inspection capability are essentially applying the coating blind, which produces inconsistent results even when the technicians are experienced and the products are professional-grade.
How to Maintain Ceramic Coating After Application
A correctly applied ceramic coating requires minimal but specific maintenance to perform at its best for the full warranty period.
Washing Methods That Preserve the Coating
Two-bucket hand washing with a pH-neutral automotive shampoo and a clean, soft microfiber wash mitt is the recommended washing method for ceramic-coated vehicles. The two-bucket method uses one bucket for clean soapy water and one for rinsing the mitt between passes, which prevents the dirt extracted from the paint from being reapplied during subsequent strokes. Automatic car washes with abrasive brushes should be avoided permanently for ceramic-coated vehicles because the brushes introduce micro-scratches that progressively degrade the coating surface. Touchless automatic washes are a safer alternative but still push cleaning chemicals against the coating edges with repeated use.
Periodic Maintenance Boosters
Most professional ceramic coatings benefit from a maintenance booster or top-up product applied every three to six months. These products refresh the hydrophobic surface layer that receives the most environmental exposure and replenish the outermost sacrificial layer that absorbs contamination before it reaches the base coating. Champion Window Tinting provides specific maintenance product recommendations with every ceramic coating installation because matching the maintenance booster to the specific base coating produces the best long-term performance outcomes.
Common Application Mistakes That Lead to Coating Failure
Understanding the mistakes that cause ceramic coating failures helps drivers recognize when a shop is cutting corners during their own application.
Skipping or rushing decontamination. A coating applied over iron fallout and embedded contamination bonds to the contamination layer rather than the paint. The result is premature delamination and spotty hydrophobic performance within the first year.
Applying coating over uncorrected paint. Every swirl mark and defect visible at the time of application is visible for the full duration of the coating, often more so because the coating's gloss enhancement makes imperfections more apparent.
Applying coating outside a controlled environment. High temperature, high humidity, or dusty outdoor conditions all affect flash time, leveling quality, and initial curing in ways that produce inconsistent finished results.
Missing the flash time window during leveling. Coating that cures past its leveling window creates permanent high spots that require coating removal to correct. Experienced technicians who know their product's behavior in specific temperature and humidity conditions avoid this consistently.
Using incorrect or dirty applicators and towels. Contaminated applicators or towels introduce debris into the fresh coating during application or leveling that creates permanent surface defects visible under inspection lighting.
Conclusion
Understanding how ceramic coating is applied gives Cornelius, NC drivers the knowledge to evaluate shops accurately, ask the right questions before booking, and recognize the difference between a thorough professional application and a rushed one that will disappoint within months. The decontamination, paint correction, panel preparation, application, leveling, and curing steps are all essential and cannot be skipped or compressed without compromising the final result.
For drivers across Cornelius, Davidson, Mooresville, Huntersville, and the broader Lake Norman area, ceramic coating in Cornelius, NC performed by Champion Window Tinting follows the full professional process that this guide describes. Every application begins with thorough decontamination, proceeds through appropriate paint correction, and takes place in a climate-controlled environment that addresses the specific challenges of Carolina summer conditions. The result is a coating that performs the way its warranty promises for years of North Carolina driving.
Ready to See the Full Process in Person Before You Book?
Reading about ceramic coating application only goes so far. The real confidence comes from seeing the installation environment, the inspection lighting, and the correction equipment that a professional shop actually uses. Champion Window Tinting in Cornelius, NC welcomes drivers to stop by the shop before booking to see exactly where and how the work gets done. Ask the team about decontamination steps, correction stages, and curing protocols. Get a written quote that covers every step of the process. Twenty-four years of Lake Norman experience means straight answers and a process you can watch and verify before you hand over the keys.
Frequently Asked Questions
1. Can ceramic coating be applied to a brand new vehicle straight from the dealership?
Yes, and this is the ideal scenario. New vehicles should be inspected under proper lighting before coating application because dealership prep wash processes often introduce swirl marks during delivery preparation. Light paint correction to remove these dealership-introduced defects before the coating goes on locks in the best possible starting condition for the full duration of the coating's warranty period.
2. How do I know if the shop performing my ceramic coating is doing full paint correction or just a quick polish?
Ask specifically how many correction stages the process involves and what compound and polish products are used at each stage. A single-stage polish removes light defects but does not address deeper scratches. Multi-stage correction using progressively finer compounds and polishes removes a wider range of defects. Ask to see the paint under inspection lighting before and after correction work to verify the improvement before the coating is applied.
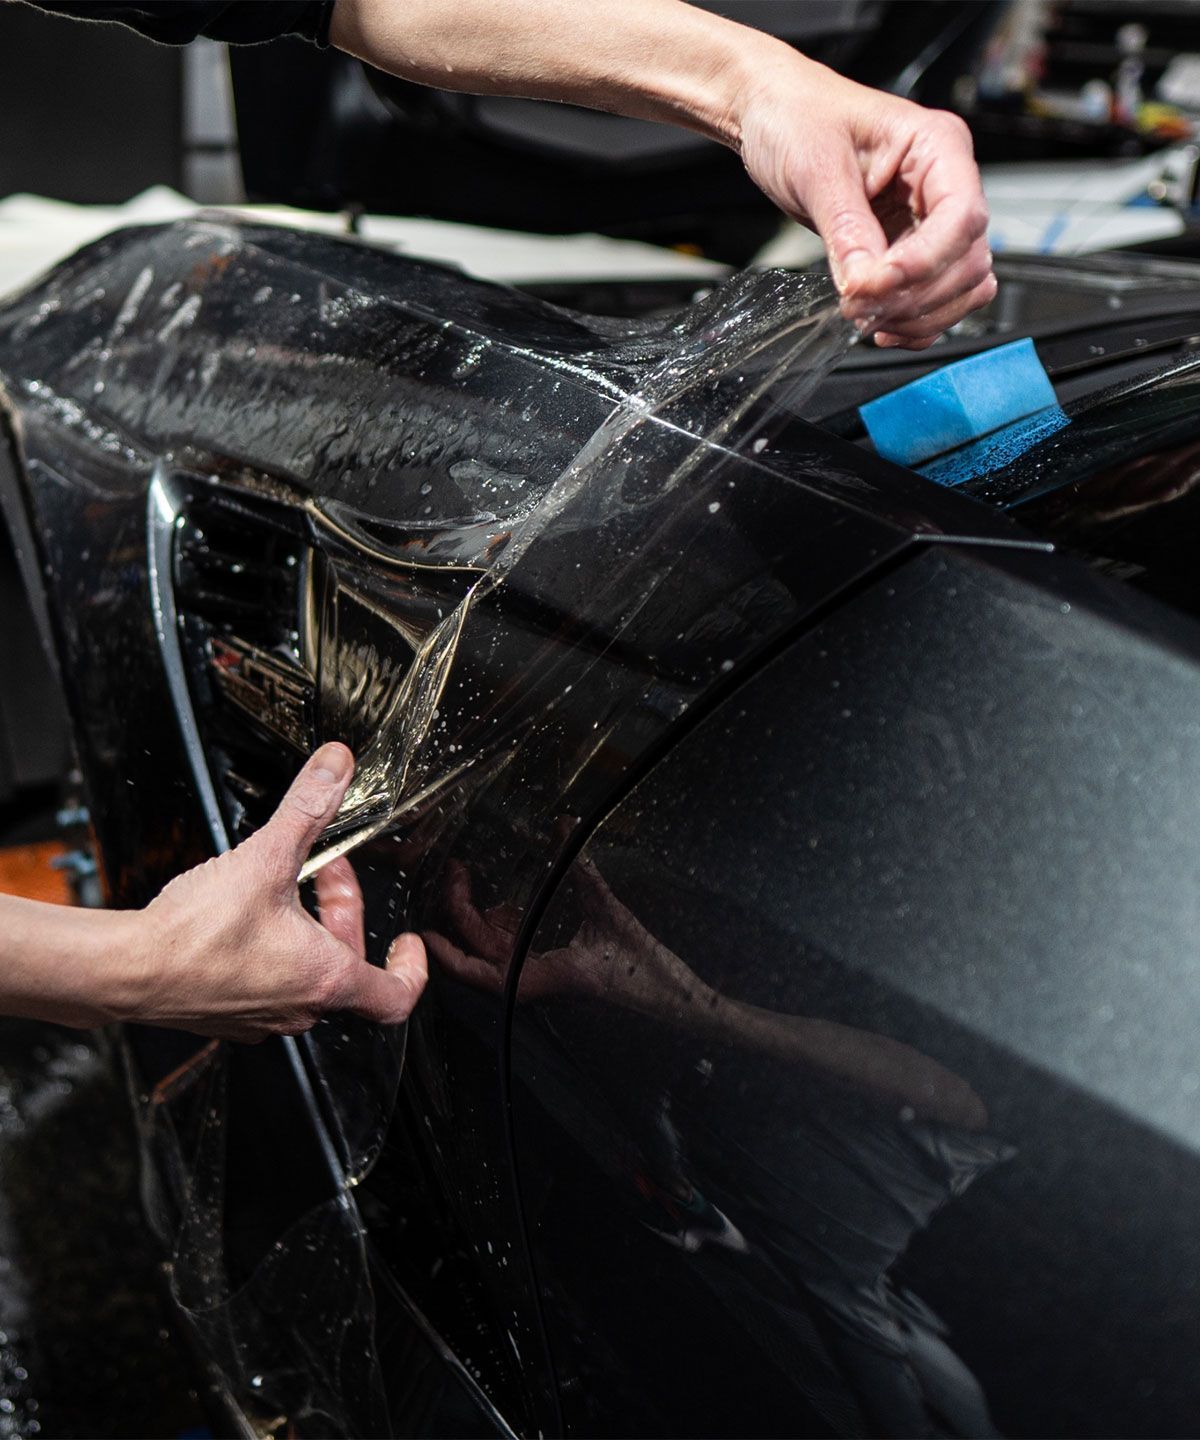
3. Does ceramic coating application damage factory paint protection film if my vehicle has PPF?
No. Professional ceramic coating can be applied over Paint Protection Film without damaging the film. In fact, applying ceramic coating over PPF is a recommended combination because the coating adds chemical resistance and hydrophobic performance on top of the film's physical impact protection. The application process on PPF-covered panels follows the same steps as bare paint, with the decontamination and preparation steps adapted for the film surface rather than bare clear coat.
4. What happens when ceramic coating eventually wears out?
When ceramic coating reaches the end of its effective life, typically indicated by loss of hydrophobic beading and reduced gloss enhancement, the coating can be removed through light machine polishing and a fresh application performed. The paint underneath a properly applied and maintained ceramic coating is typically in better condition than it would have been without protection because the coating has been absorbing UV, chemical, and environmental exposure for years on the paint's behalf. Reapplication restores the full performance benefits for another warranty period.
5. Does the ceramic coating application process differ for matte or satin finish vehicles?
Yes. Matte and satin finishes require matte-specific ceramic coating products rather than standard gloss coating formulations. Standard ceramic coatings designed for gloss paint can add unwanted shine to matte surfaces that changes the flat appearance the finish was designed to produce. Matte-specific coatings protect the surface without altering the finish. The decontamination and preparation steps are similar to gloss paint applications but the correction stage must be handled more carefully on matte surfaces because machine polishing that would be appropriate on gloss paint can alter the sheen level of matte finishes.
Articles from the Champion Window Tinting Blog
Champion Window Tinting Services